[Using Visual Studio Code]
[Using Firebase]
reactnavigation.org/docs/getting-started
Getting started | React Navigation
What follows within the Fundamentals section of this documentation is a tour of the most important aspects of React Navigation. It should cover enough for you to know how to build your typical small mobile application, and give you the background that you
reactnavigation.org
npm install @react-navigation/native

필자는 Expo managed project를 만들었기 때문에 아래와 같은 내용을 참고한다.

expo install react-native-gesture-handler react-native-reanimated react-native-screens react-native-safe-area-context @react-native-community/masked-view

위 문서를 참조하여 Navigation이 잘 작동하는지 테스트해보자
reactnavigation.org/docs/hello-react-navigation
Hello React Navigation | React Navigation
In a web browser, you can link to different pages using an anchor (``) tag. When the user clicks on a link, the URL is pushed to the browser history stack. When the user presses the back button, the browser pops the item from the top of the history stack,
reactnavigation.org

npm install @react-navigation/stack

//Home

import React from 'react';
import { Button, Text, View } from 'react-native';
import { NavigationContainer } from '@react-navigation/native';
import { createStackNavigator } from '@react-navigation/stack';

function HomeScreen({navigation}) {
  return (
    <View style={{ flex: 1, alignItems: 'center', justifyContent: 'center' }}>
      <Text>Home Screen</Text>
      <Button
        title="Go to Details"
        onPress={() => navigation.navigate('Details')}
      />
    </View>
  );
}

function DetailsScreen({navigation}) {
  return (
    <View style={{ flex: 1, alignItems: 'center', justifyContent: 'center' }}>
      <Text>Details Screen</Text>
      <Button
        title="Go to Home"
        onPress={() => navigation.navigate('Home')}
      />
    </View>
  );
}

const Stack = createStackNavigator();

function App() {
  return (
    <NavigationContainer>
      <Stack.Navigator initialRouteName="Home">
        <Stack.Screen name="Home" component={HomeScreen} />
        <Stack.Screen name="Details" component={DetailsScreen} />
      </Stack.Navigator>
    </NavigationContainer>
  );
}

export default App;
버튼을 누르면 Home과 Details 을 이동할 수 있다.
이제 Home의 Button을 [Google로 로그인] 역할을 할 수 있게 바꿔보자
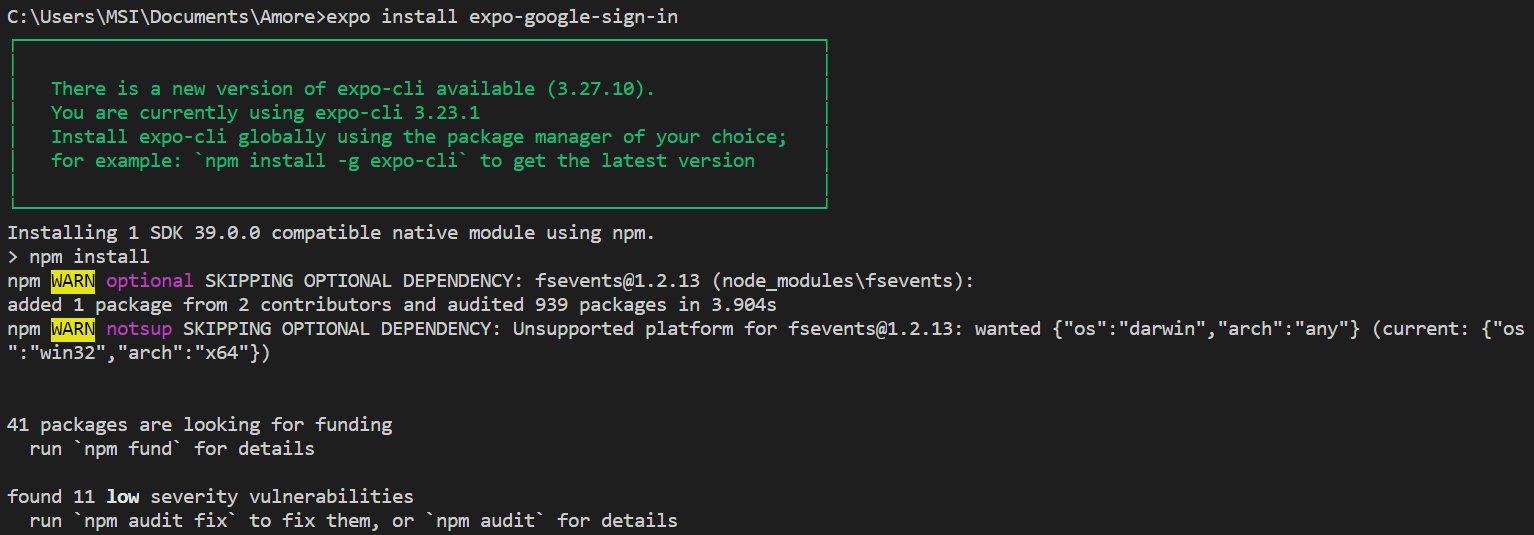
docs.expo.io/versions/v39.0.0/sdk/google-sign-in/
GoogleSignIn - Expo Documentation
If you haven't already run expo build:android for this project, you'll need to do that first before getting the Google Certificate Fingerprint.
docs.expo.io
Expo API 중 GoogleSignIn 을 사용할 것이다.


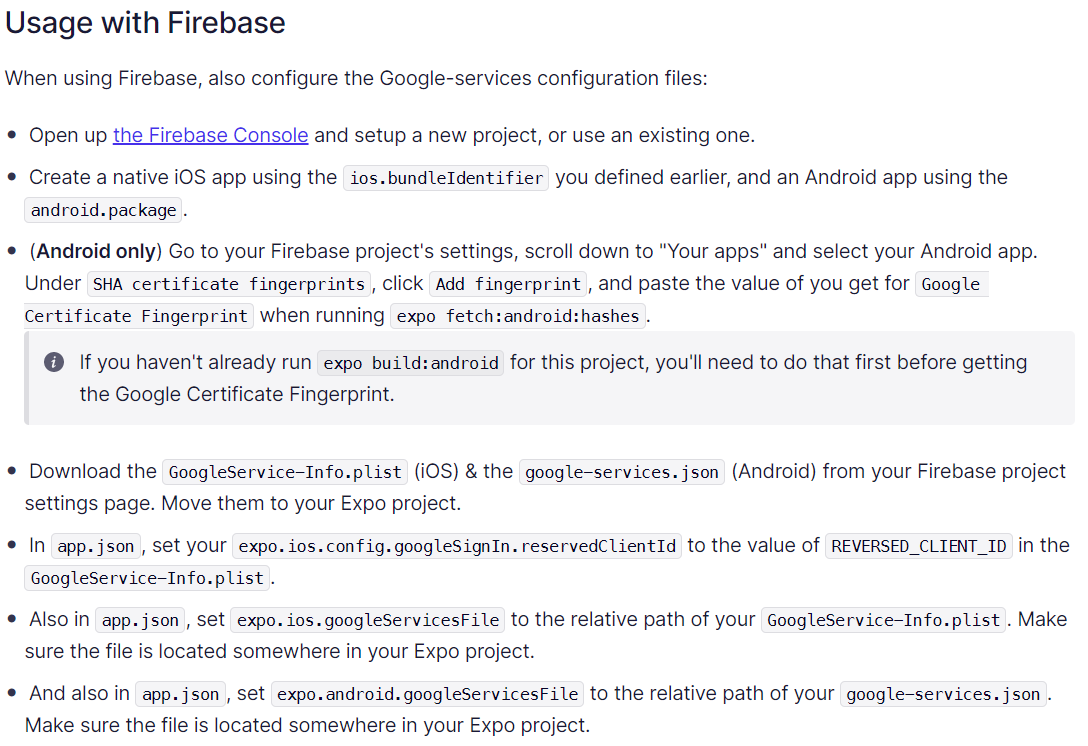
app.json에 ios.bundleIdentifire 와 android.package 를 추가하고
expo.ios.config.googleSignIn.reservedClientId 또한 추가하라고 한다.
app.json을 열어보자.


expo.android.package 와 expo.ios.bundleIdentifier 는 단순하게 만들 앱의 패키지 명이므로 자유롭게 설정해준다.
expo.ios.config.googleSignIn.reservedClientId는 아래 나올 부분에서 다뤄보자.
아...많다...
필자는 Firebase를 아주 사랑하기 때문에 이를 이용하여 Google 로그인을 구현할 것이다.
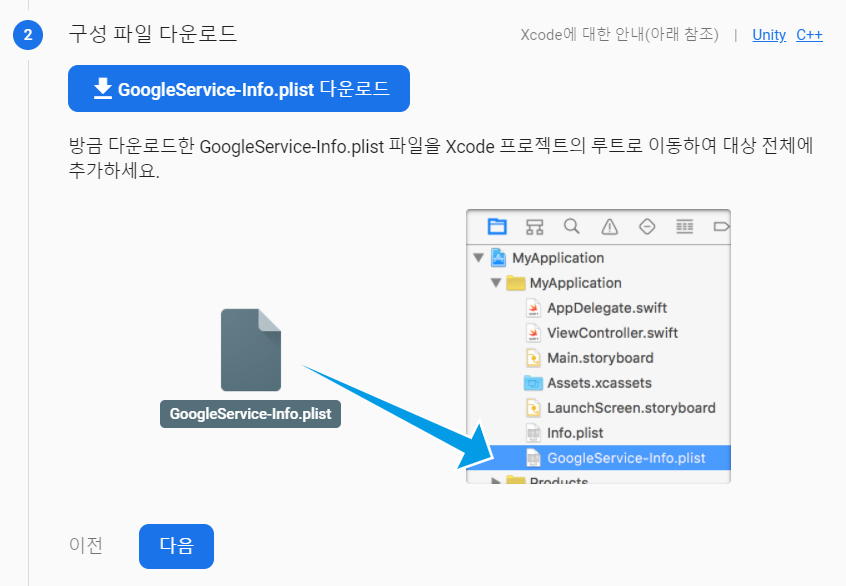
Firebase에서 프로젝트를 생성하고 Android와 iOS를 추가한다.
추가할 때에 [iOS 번들 ID]와 [Android Package명]은 앞서 app.json에 기입한 내용과 같아야한다.
2번 화면에서는 iOS와 Android 동일하게 GoogleService 파일을 다운로드 하도록 되있는데
프로젝트의 루트디렉토리에 저장하도록한다.

여기까지 완료했으면 앞서 말한 expo.ios.config.googleSignIn.reservedClientId를 작성할 차례이다.
reservedClientId는 방금 막 iOS를 추가할때 다운받은 GoogleService-Info.plist 파일 내에 작성되어있다.

여기서 찾은 값을 app.json에 붙여넣기해준다.
그리고 googleServiceFile을 연결해주기 위하여
 // app.json
{
  "expo": {
    "ios": {
      // The bundle ID you used with your Firebase app
      "bundleIdentifier": "example.expo.googlesignin",
      "config": {
        "googleSignIn": {
          // Your REVERSED_CLIENT_ID from the GoogleService-Info.plist
          "reservedClientId": "<YOUR_REVERSED_IOS_CLIENT_ID>"
        }
      },
      // Optional path to the iOS file generated by Firebase
      "googleServicesFile": "./GoogleService-Info.plist"
    },
    "android": {
      // The package you used with your Firebase app
      "package": "example.expo.googlesignin",
      // Optional path to the Android file generated by Firebase
      "googleServicesFile": "./google-services.json"
    }
  }
}
위 내용을 참고하여 app.json을 마저 작성한다.
아래는 위 과정을 마친 필자의 app.json 파일의 일부분이다.

끝~~ 인줄 알았지만 놓치고간 하나가 있다.

중간에 하려했는데 build를 한 번 해야 hashes 키가 생기기 때문에 이제야한다.
expo build:android -t apk 를 한 후 expo fetch:android:hashes 를 실행해주면


위 화면과 같이 Google Certificate Fingerprint를 복사하여 Firebase 설정에서 추가해준다.
로그인이 되어있으면 바로 홈화면으로 가고
그렇지 않으면 [Google로 로그인] 버튼이 뜨게 해야한다.
이후 [Google로 로그인]을 마치면 추가 정보 입력 후 홈화면으로 갈 수 있도록 해야한다.
'JavaScript > React Native' 카테고리의 다른 글
| [React Native] Change Package(Android) & Bundle Id(iOS) (0) | 2020.11.24 |
|---|---|
| [React Native] 시작하기 (Windows 10) (0) | 2020.11.19 |
| [React Native] Child Navigator 에서 Parent Navigator 의 Header Title 바꾸는법 (feat. stackoverflow) (0) | 2020.10.04 |
| [React Native & Expo] Google Login 구글로그인 (0) | 2020.09.29 |
| [React Native & Expo] expo 프로젝트 시작하기 (0) | 2020.09.28 |

댓글